Table of Contents
Web based Configuration Editor
With Ventuz 6.6 we introduced the Web based Configuration Editor. It holds some additional features to further enhance the usage of our Configuration Editors. To access this version of the editor simply open a web browser on any device and openhttp://[Machine's Local Ip Adress]:20404
This enables the function to remotely configure your Ventuz machine from any device with access to the local network without having to install Ventuz on it (so mobile phones or tablets can configure a machine, trigger events or even switch out entire scenes).
General Navigation Menu
This is the general navigation menu, where you will find all functions that the normal Configuration Editor has. With some extras.
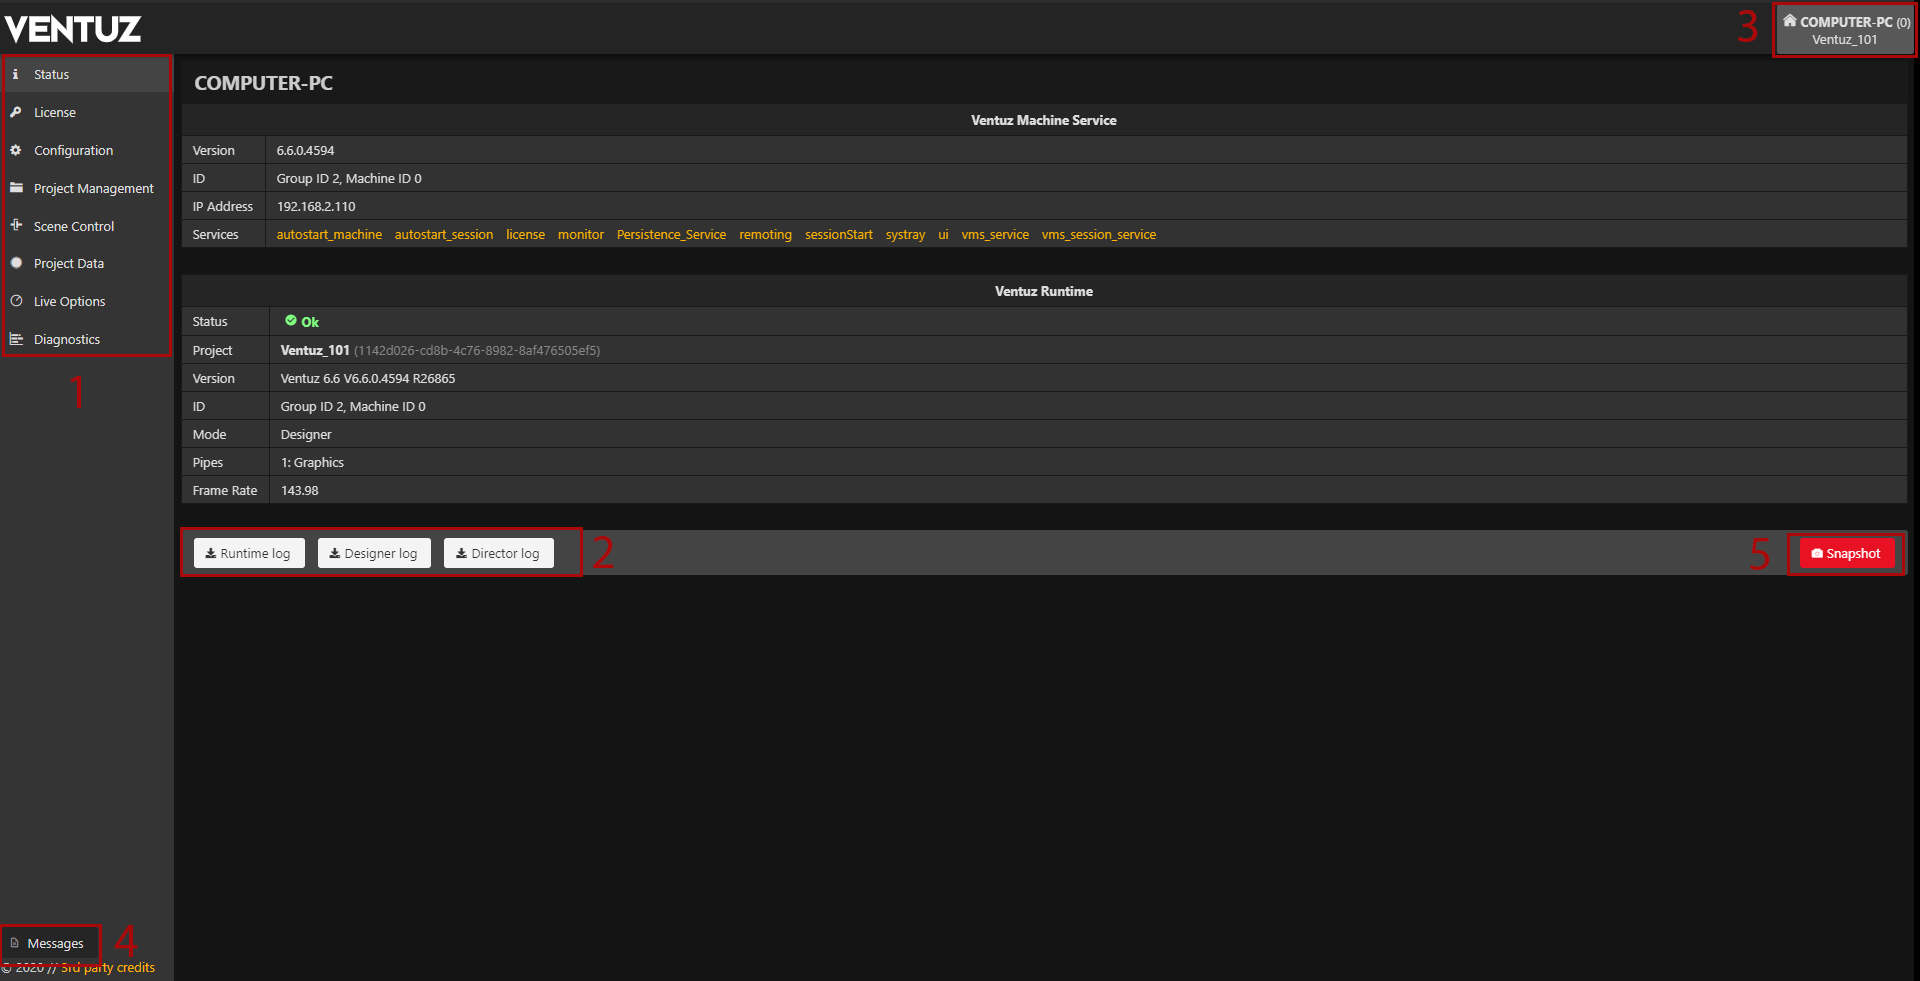
Status
The status site is the first site you will see after opening the web page. It will give you detailed information about the current state of your machine. This includes:
- the currently running project
- the installed Ventuz version
- the ID of the selected machine
- which product is running, e.g. Ventuz Designer
- and the output pipe with the current frame rate
For more information on the different states that the VMS can be in, take a look at the VMS Documentation.
License
The license manager is now included in the web based configuration editor. This means the functionality is the same as in the License Manager for desktop.

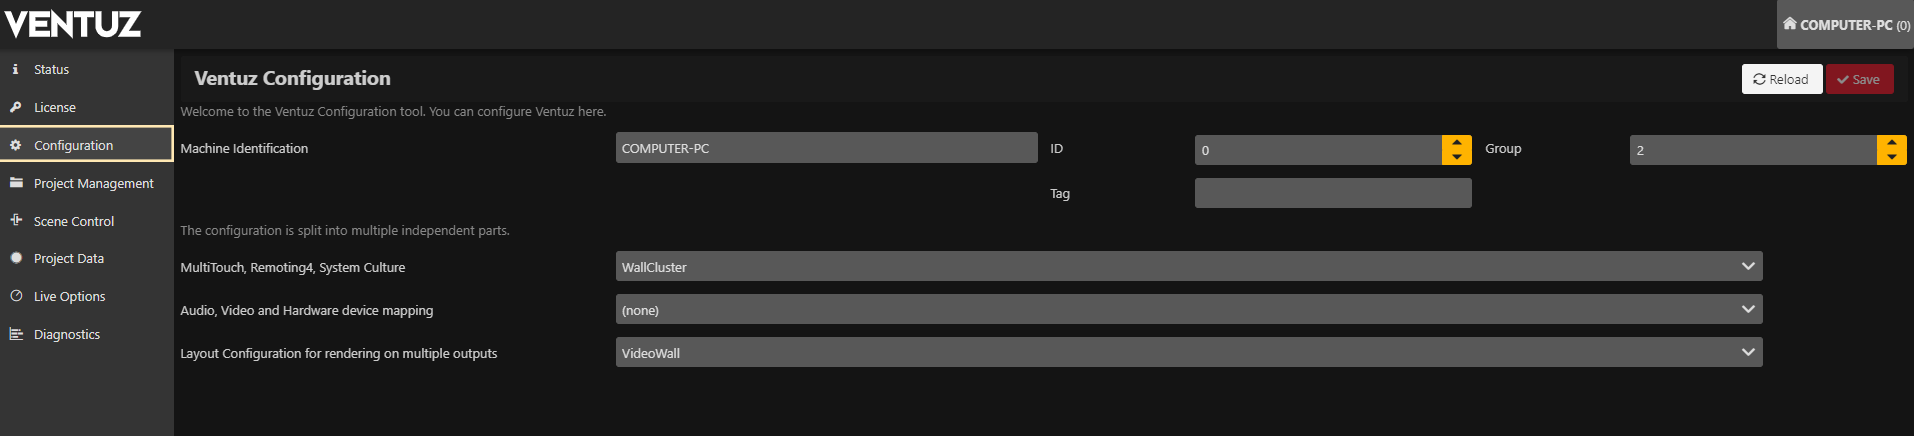
Configuration
This web based version of the Configuration Editor has some reduced functionality. It is meant to monitor the currently selected configuration and to switch it quickly. You are also able to change the machine identification. But creating or editing configurations is not possible from the web version of the configuration editor.
You cannot add or edit new configurations. For this you still need to open the desktop version of the Configuration Editor.
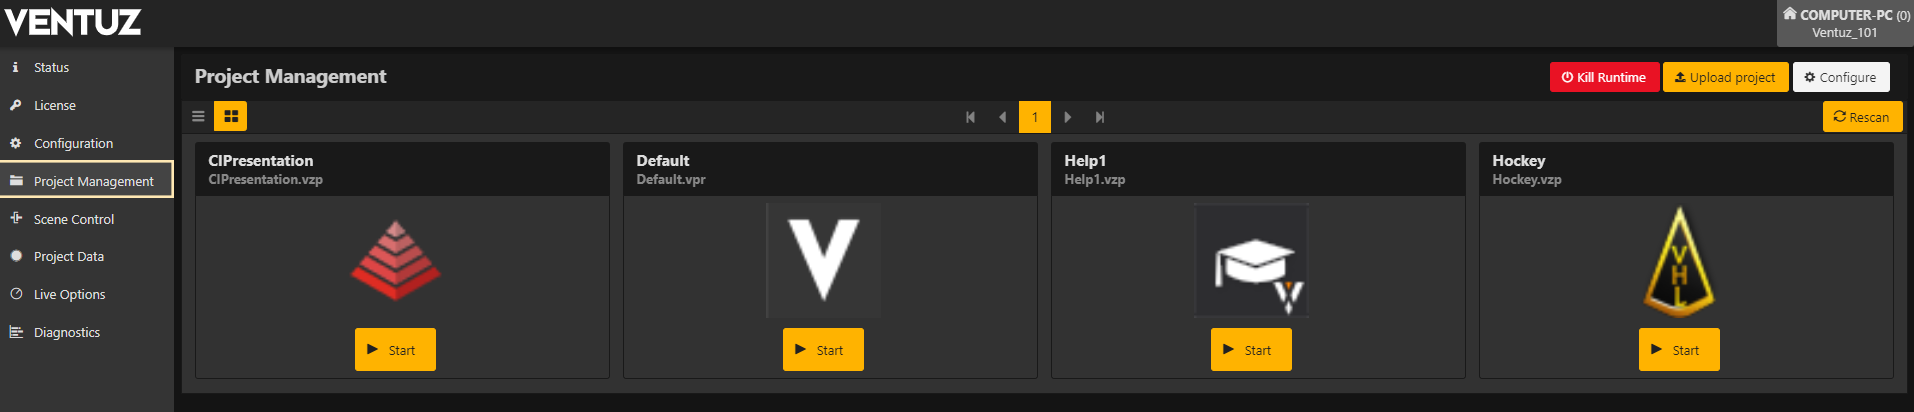
Project Management
In the project management tab you will find the same options like in the Live Project Management of the desktop configuration editor.
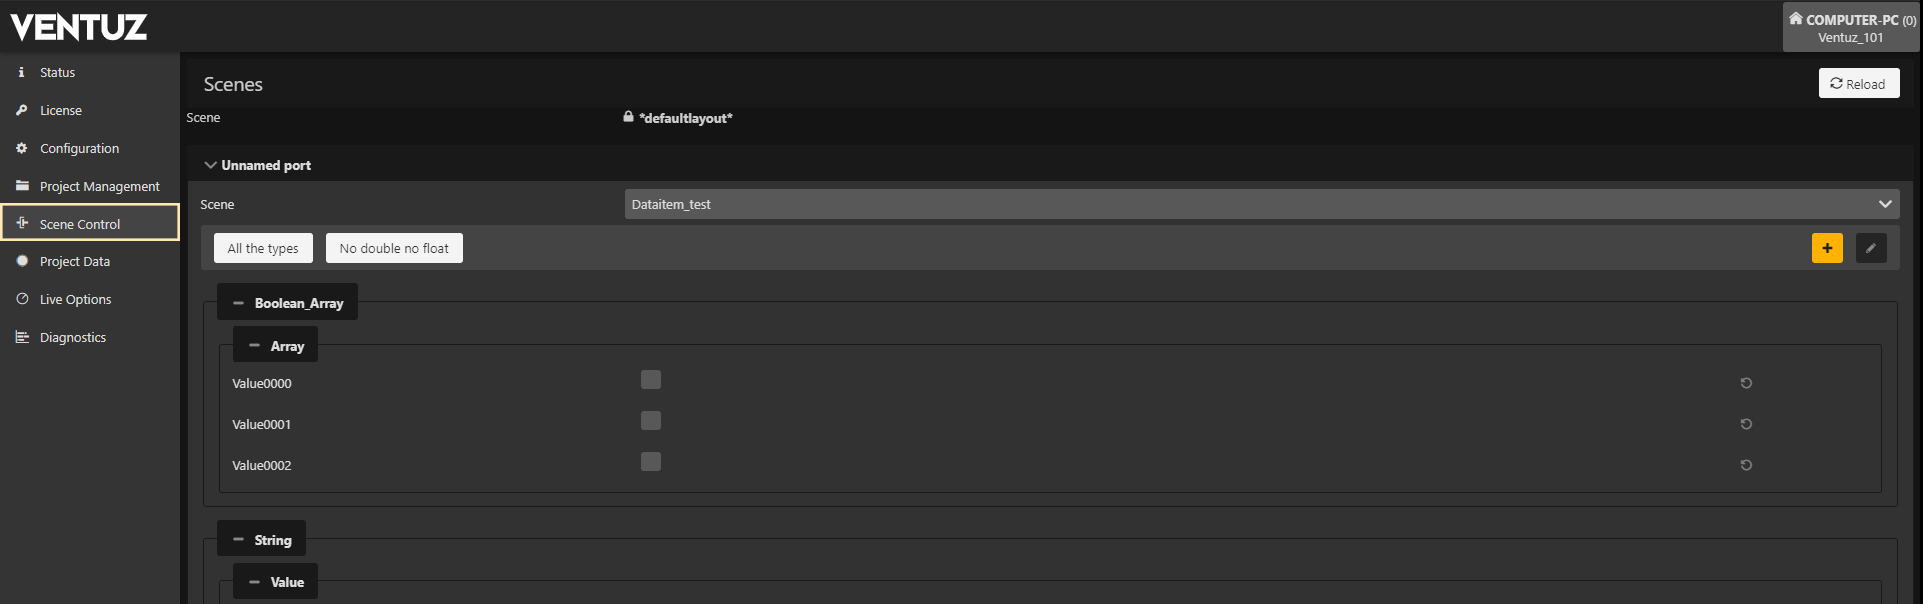
Scene Control
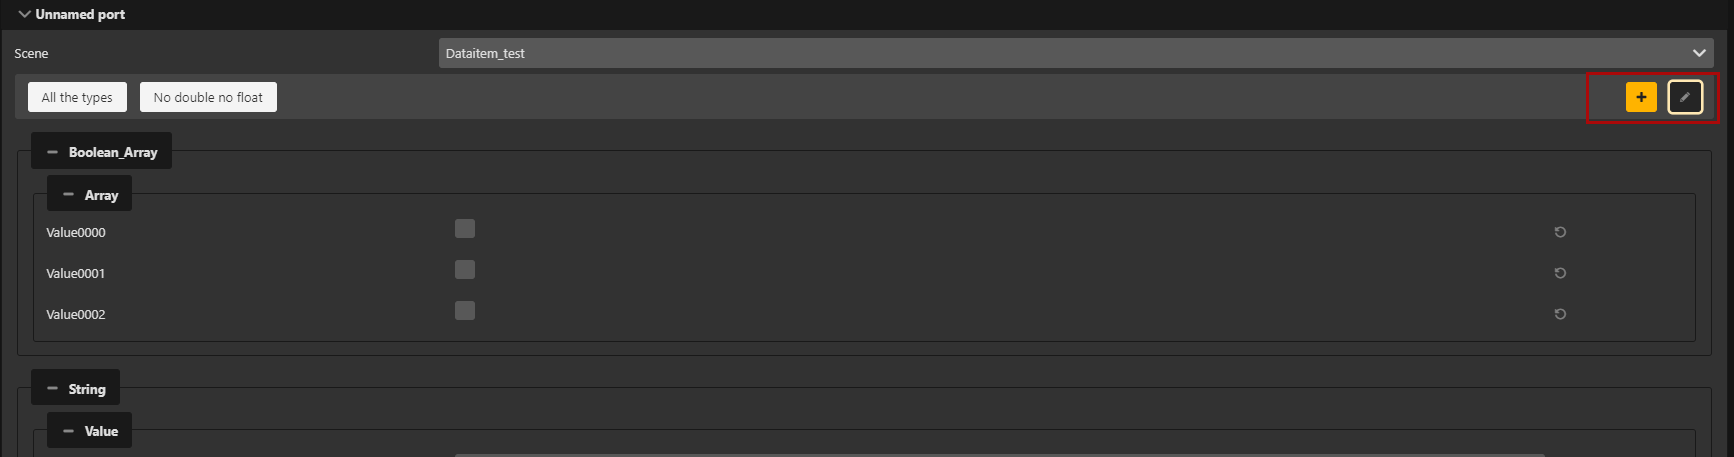
The scene control tab is only available in the web-based configuration UI. Here you are able to:
- See all Scene Data items. As well as change and trigger them.
- See which Layout Scene is currently selected.
- Load/switch the selected scene in the runtime
- It is also possible to make custom presets, export them or importing on .json format. For more information on presets look under Presets.
The Web Configuration Editor uses the invariant culture with periods . for floating points and commata , to seperate array items.
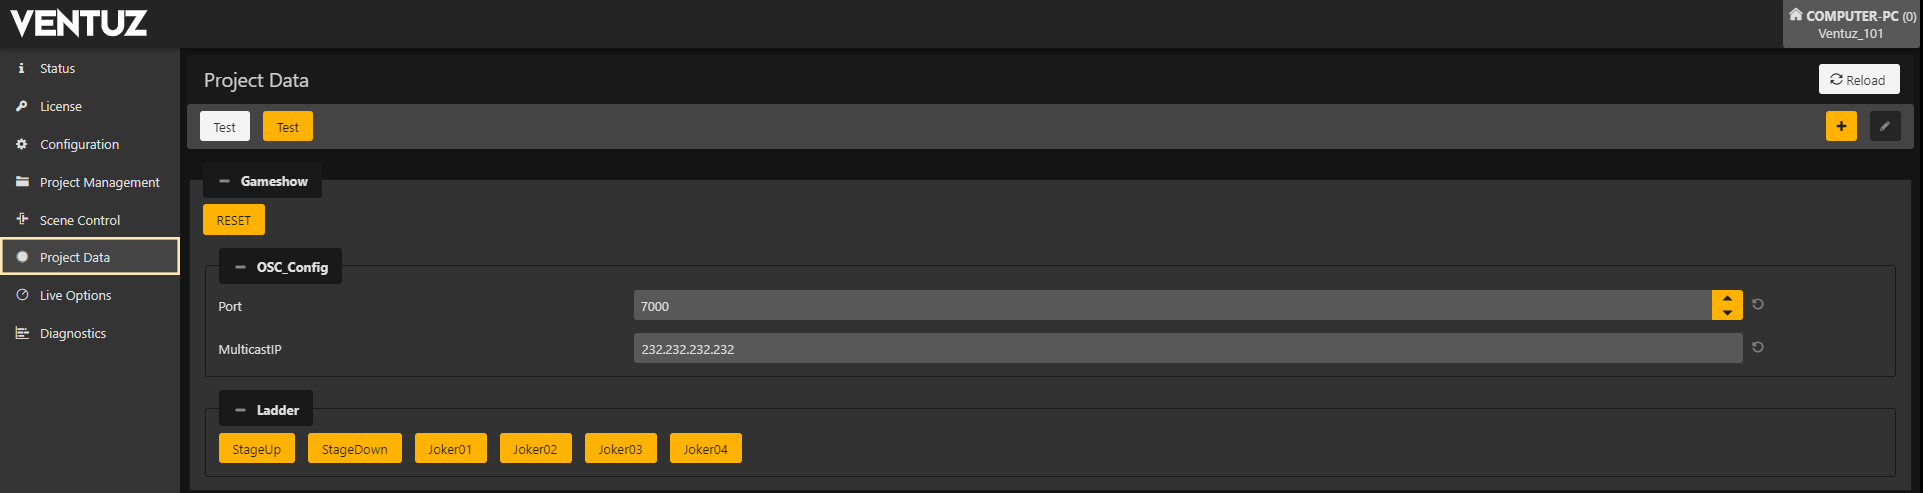
Project Data
This tab shows the Project Data of the running project. Similarly to scene control you are able to add presets, change the values and trigger events from here.
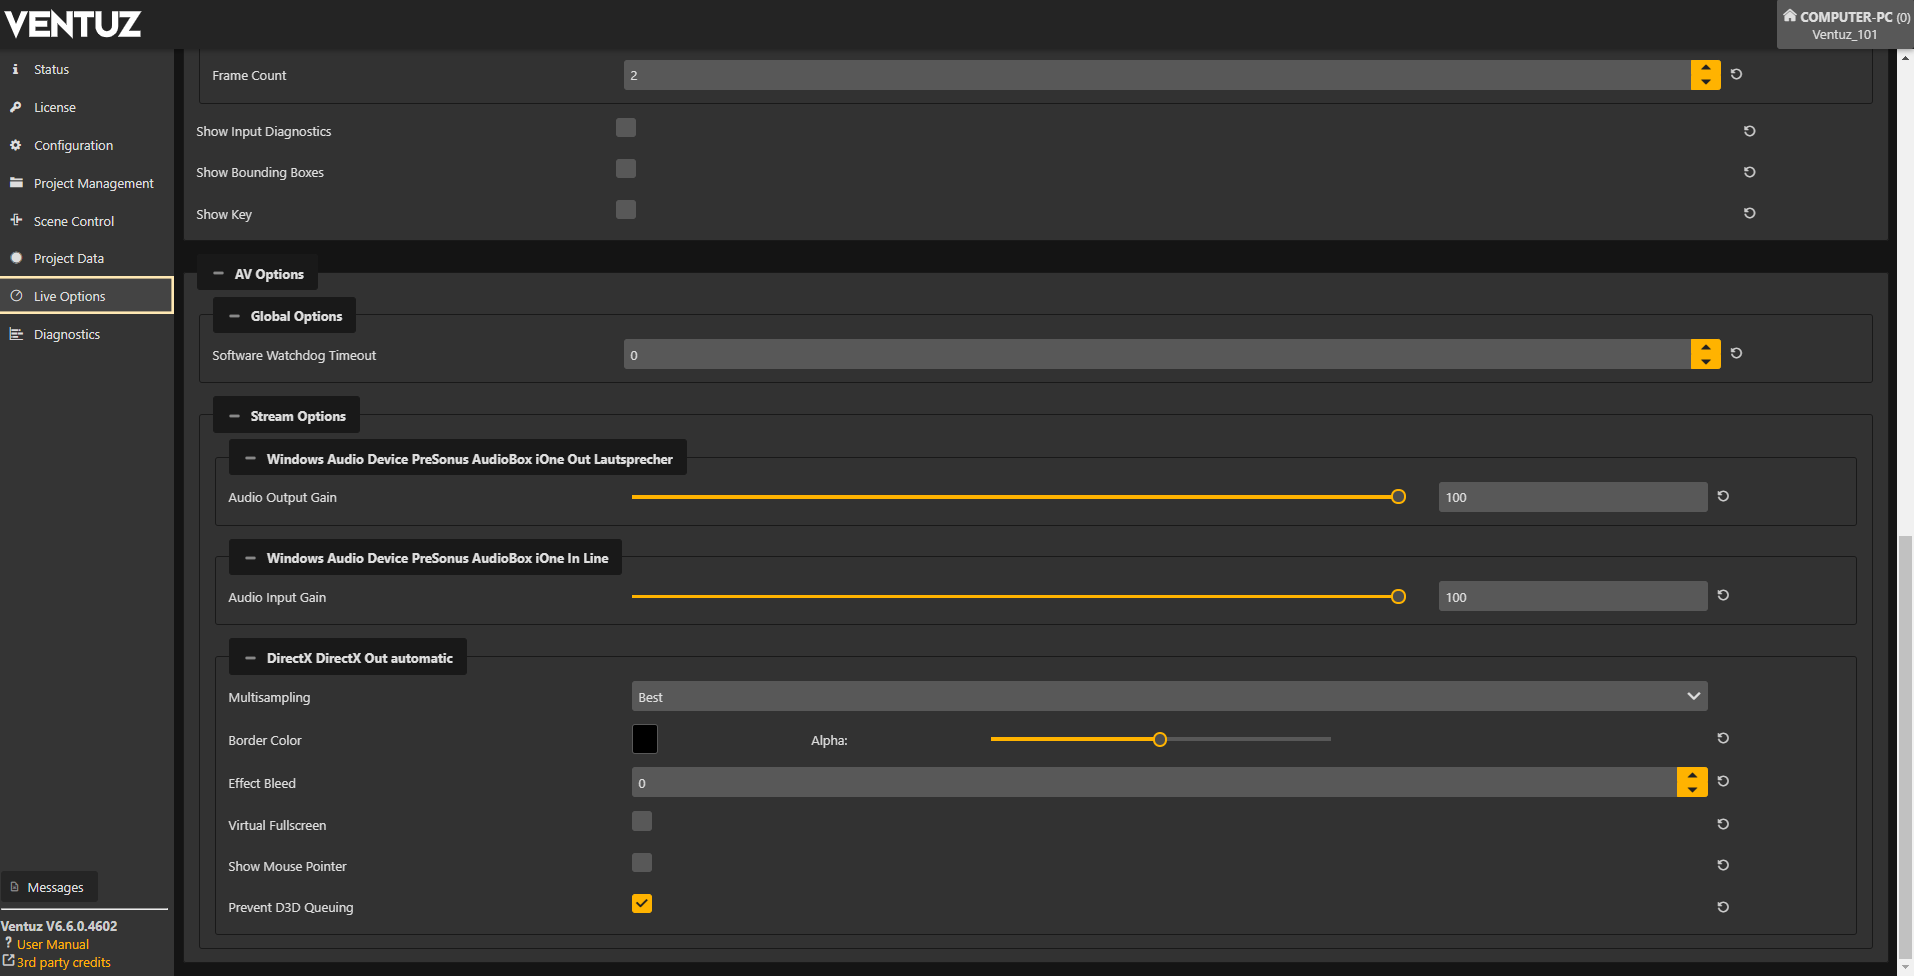
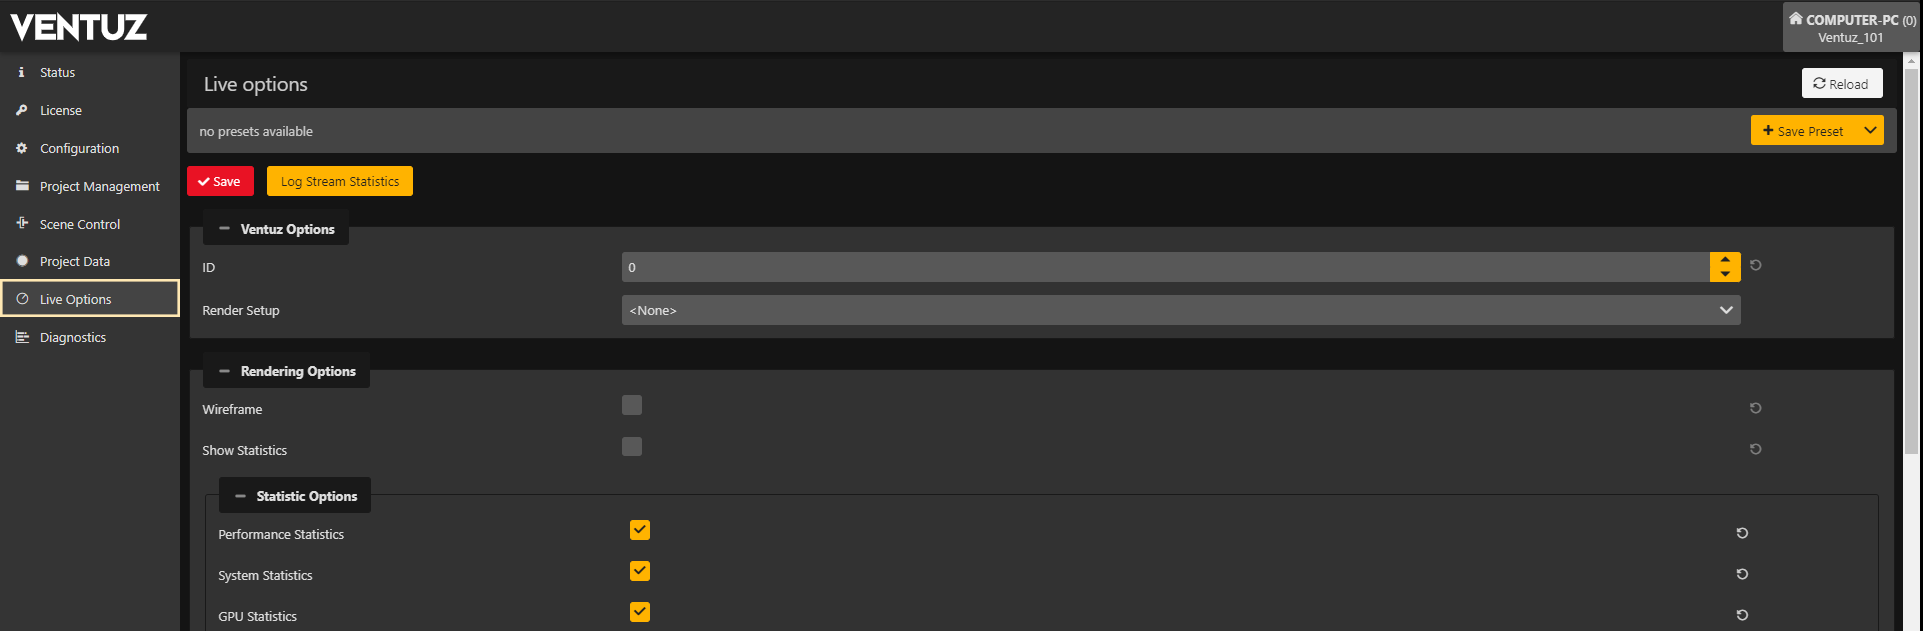
Live Options
Like in the Configuration Editor you can adjust the Runtime's Live Options and change the AV Configuration. Additionaly you are able to save presets, by selecting the options you want to see and clicking the + Save Preset button. Now by clicking the Preset, only these options will show up.
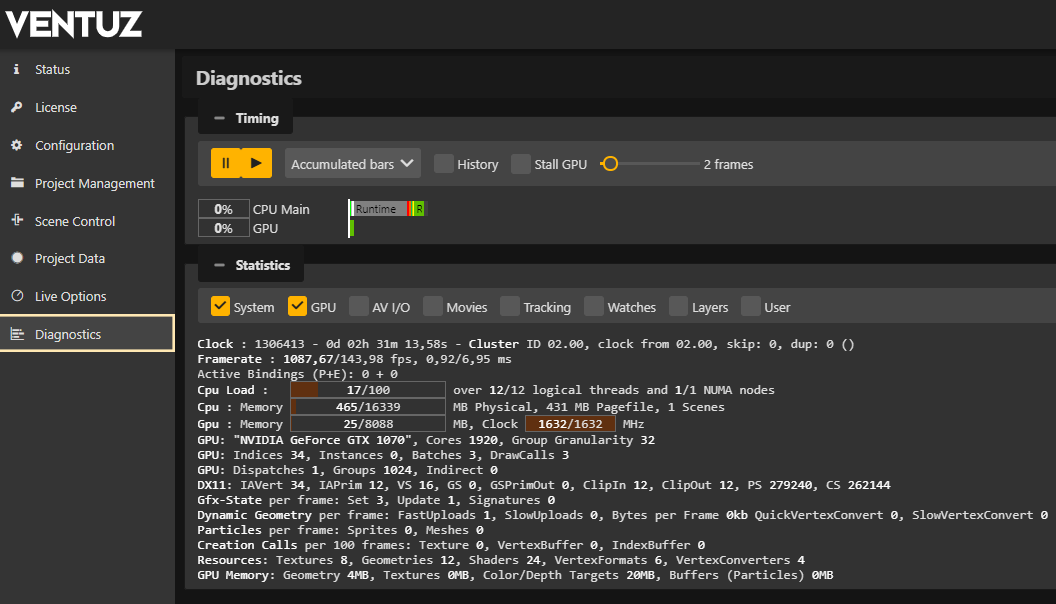
Diagnostics
The diagnostics mirror the Performance Statistics that you could normally only acces in Live Options to make them visible in the Runtime of the rendering machine.
Logs Quick access
The Logs Quick access provides all the different Logs.
With this you are able to monitor the logs with your tablet, smartphone or PC / laptop in your local network. Without the need of installing Ventuz on it.
Currently selected Machine
Shows the currently selected machine and the project running on it. Here you can also change the machine in your network that you currently edit or review.
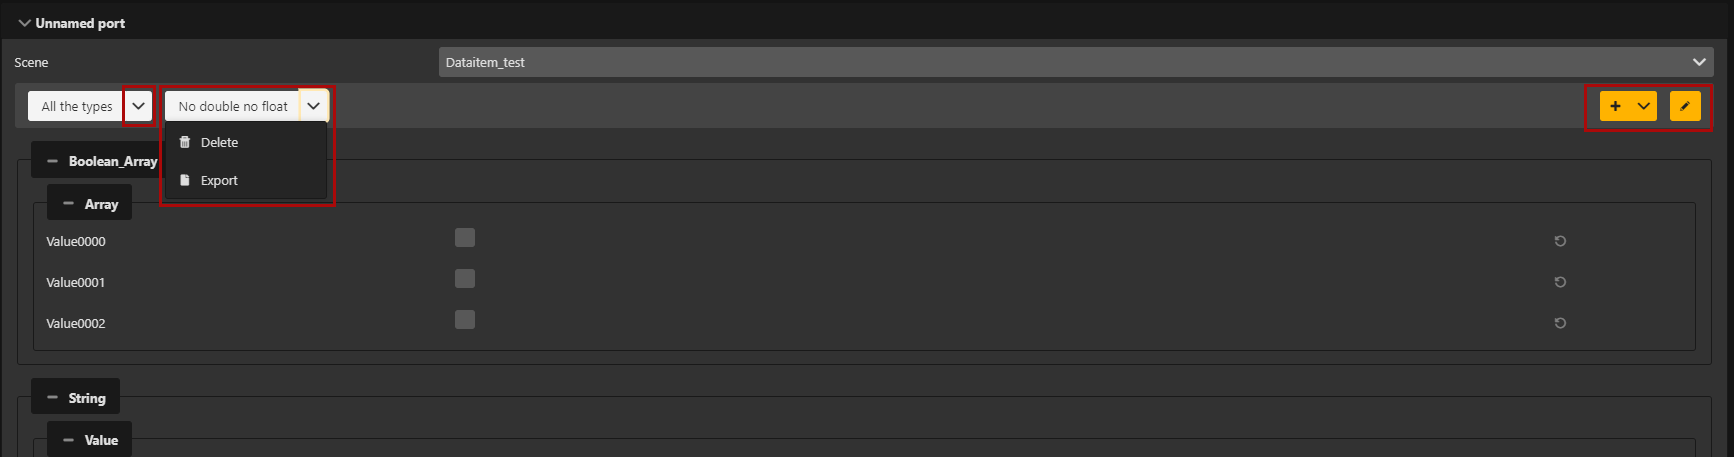
Presets
You will find the option to create custom presets as well as importing or exporting presets in .json format.
These presets are used in Scene Control, Live Options and Project Data.
Adding a preset
Change the values you need and hit the + Save Preset button on the top right then type in a name.
Now choose the data items with the current values you want to use. By clicking the preset only these items will be changed and nothing else.
Exporting presets
This can be done by going into the edit mode (via the small pencil) and then clicking on the small arrow that appears on the preset.
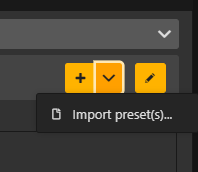
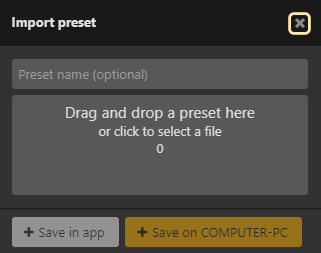
Importing presets
Go into the edit mode. This can be enabled by clicking the small pencil.
After selecting the preset you want to import, you can choose to either save them in the App or on the currently selected machine.
Messages
This is the message log that you also would find in the desktop version of the Configuration Editor. For more information on message logs for our other products see here.
Snapshot
Takes a snapshot of the current Ventuz Runtime render output and opens it in a new tab.