How to use Spout
Table of Contents
This How To will show you how to setup Spout with Ventuz and is written for beginner to intermediate level users.
Introduction
Spout allows Windows applications to share frames between each other similar to Syphon for Mac or our Ventuz VIO. With Spout there is always a sender and a receiver, i.e. an application which provides frames and one which picks them up. At the time of writing, Ventuz only supports receiving frames, and is therefore a Spout Receiver.
| Protocol Version | Pixel semantic |
|---|---|
| 2.006 | RGBA |
Check the Spout Documentation for further information.
Install Spout
For this How to you need to make sure the correct version of Spout is installed on your system. Simply download and run the Spout installer on the target system. The Spout installation also includes a Senderand a Receiver demo that we can easily use to test Spout later on inside Ventuz.
Spout basically works without being installed, in this How To the installation only serves to have the Demo Sender application available for testing.
Setup a Spout Receiver in Ventuz Designer
Setting up a Spout Receiver inside Ventuz is actually fairly easy.
- Simply open any existing Ventuz Project inside Ventuz Designer or create a new one and create a new Ventuz Scene.
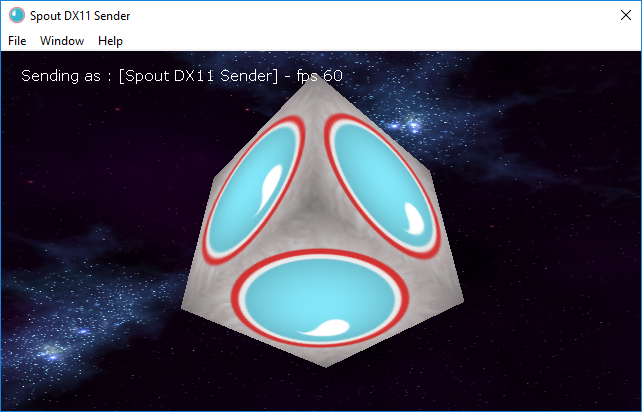
- Make sure you've started the Spout Demo Sender application or any other Spout Sender you want to receive the frames from.
- If you just want to receive Spout and display it on the whole canvas, you can simply create a new 2d Layer Spout Receiver in the Layer Editor. If your Spout Sender is set up the right way you should instantly see the frames received via Spout.
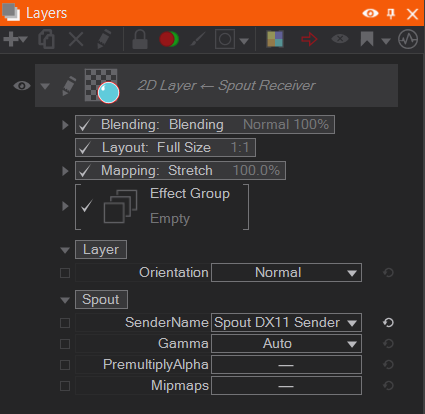
Make sure you set the SenderName Property on the 2d Layer Spout Receiver
- Since the Spout Receiver Node is a Content Node that provides a texture, it can not only be used as a Layer but also be used as a Material Stage inside a 3D World.

Make sure you set the SenderName Property on the 2d Layer Spout Receiver